The Copper Range Hood
Features.
1. Hand crafted copper with custom Patina
2. 1250 CFM inline fan with massive silencer
3. Hand poured Pewter arch
4. CNC plywood inner frame
5. Custom built copper controls and light
6. Commercial grease baffles
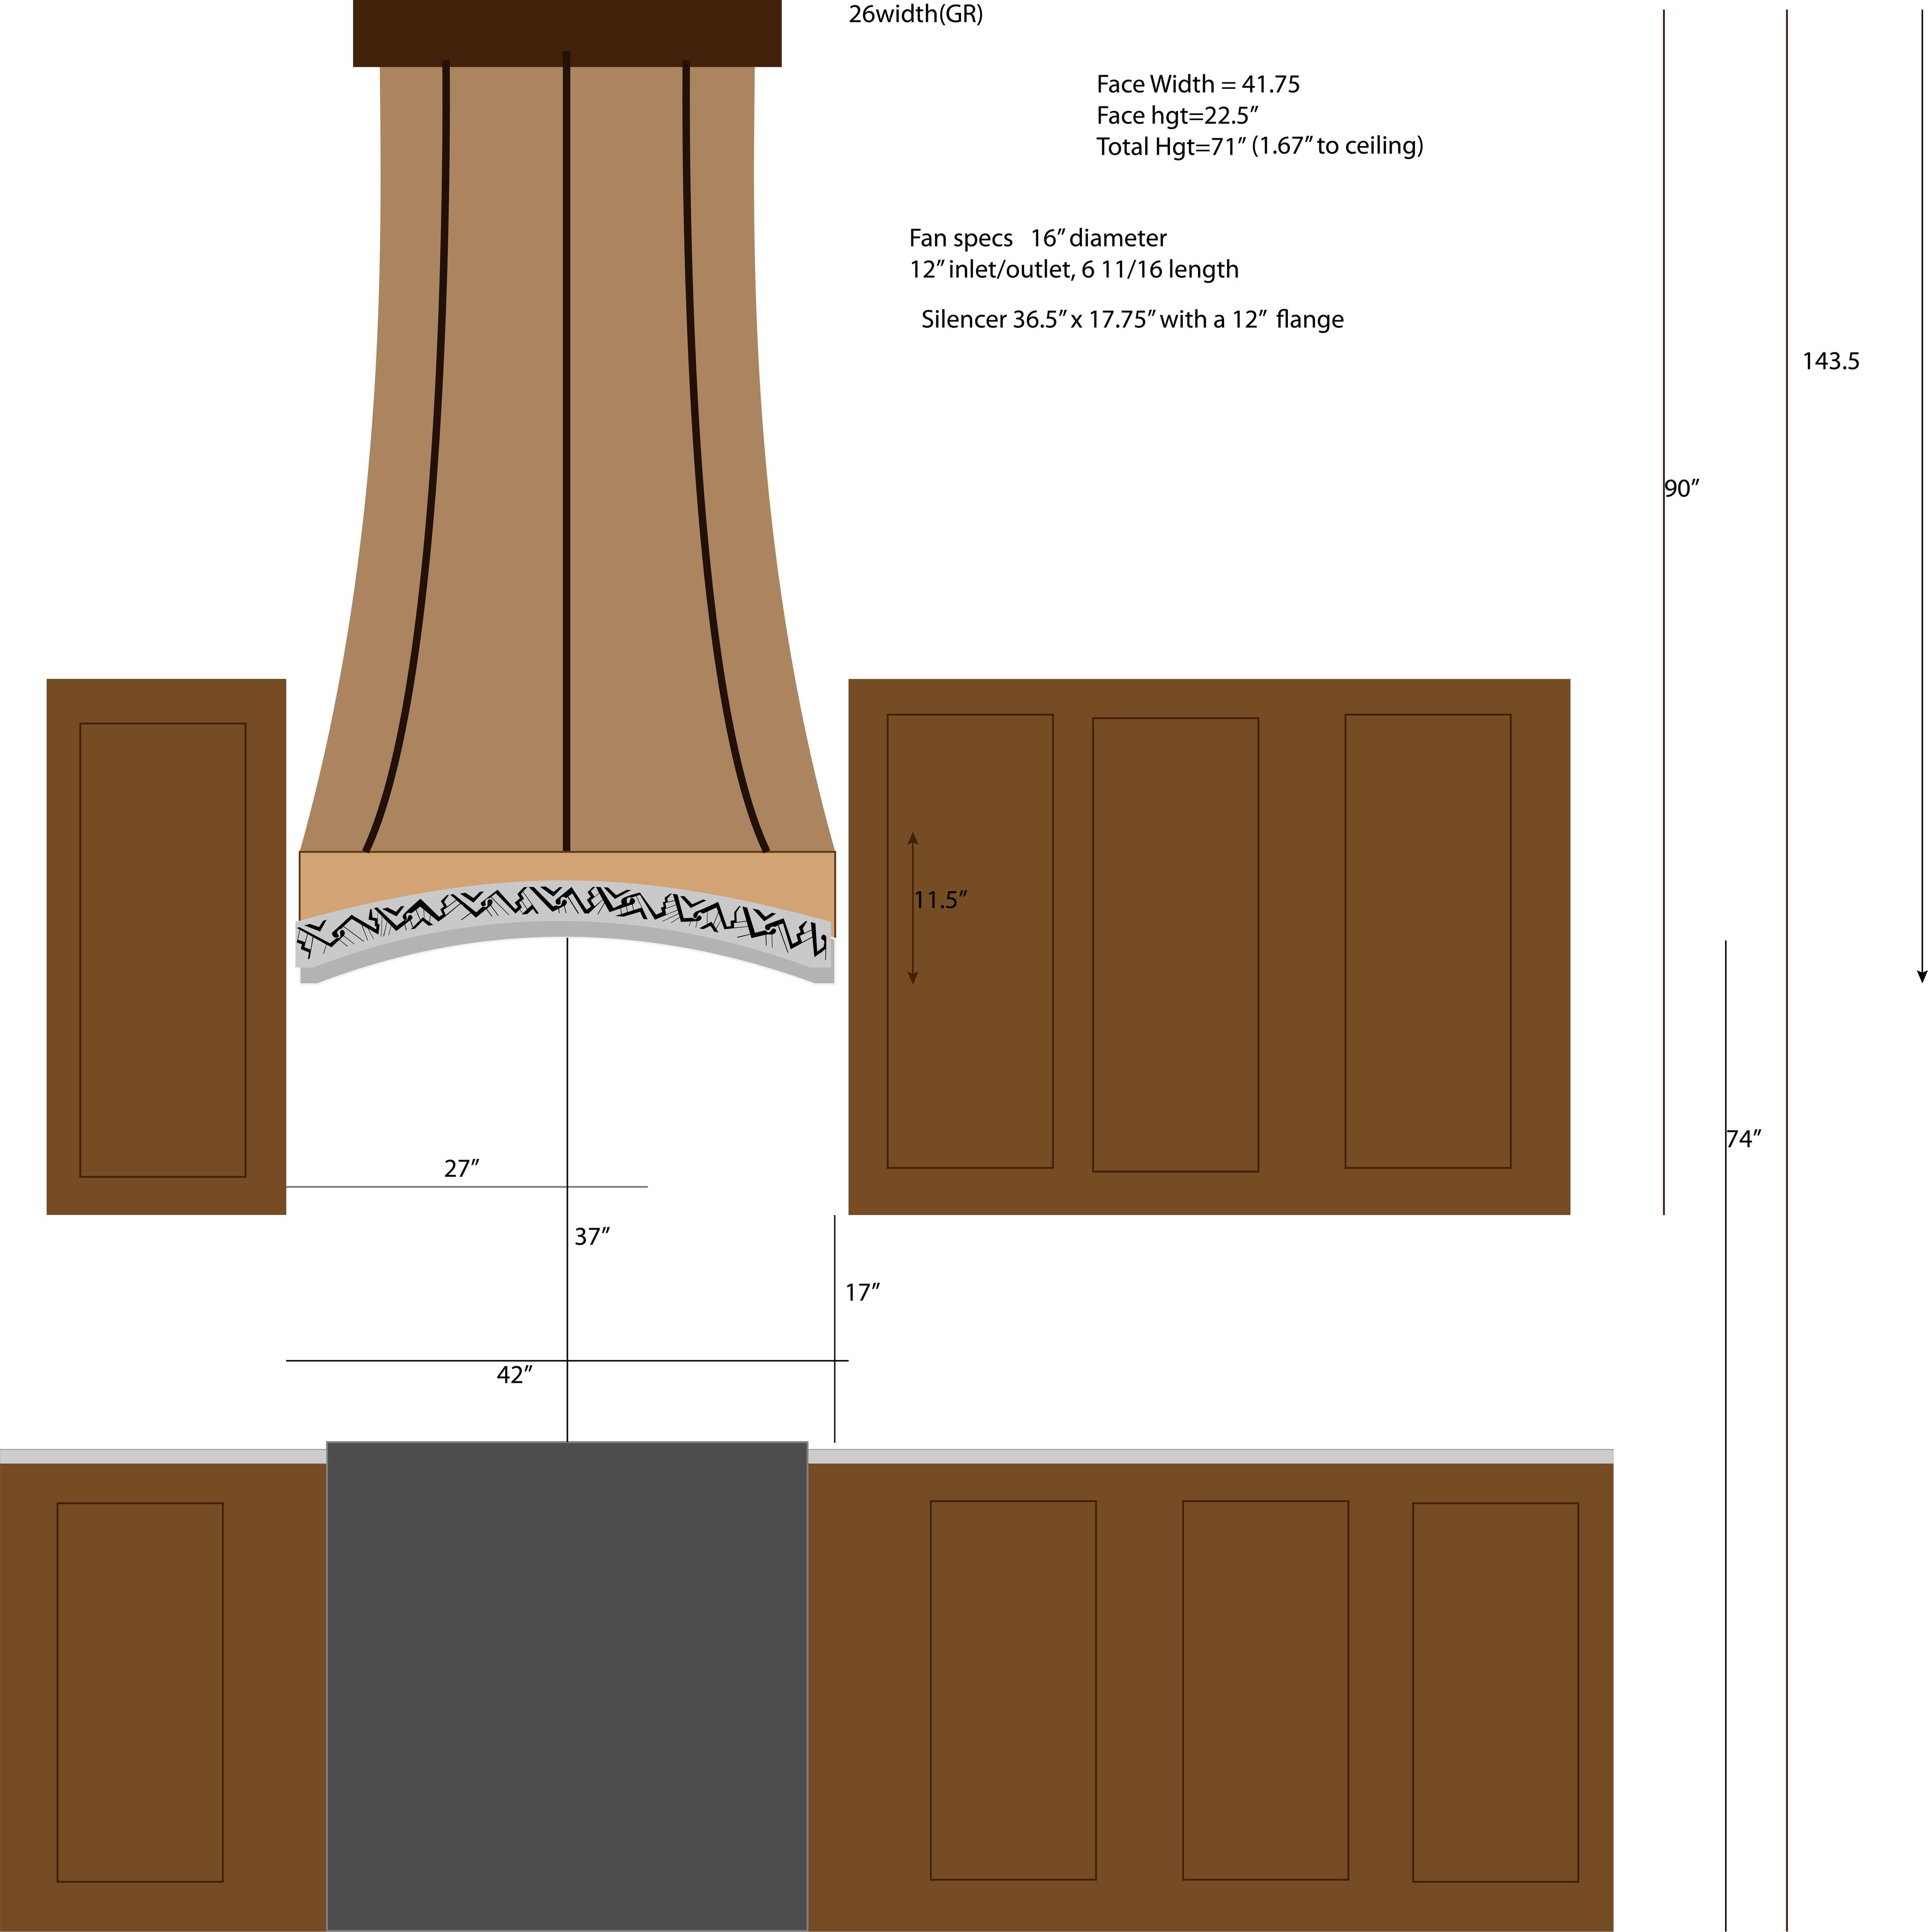
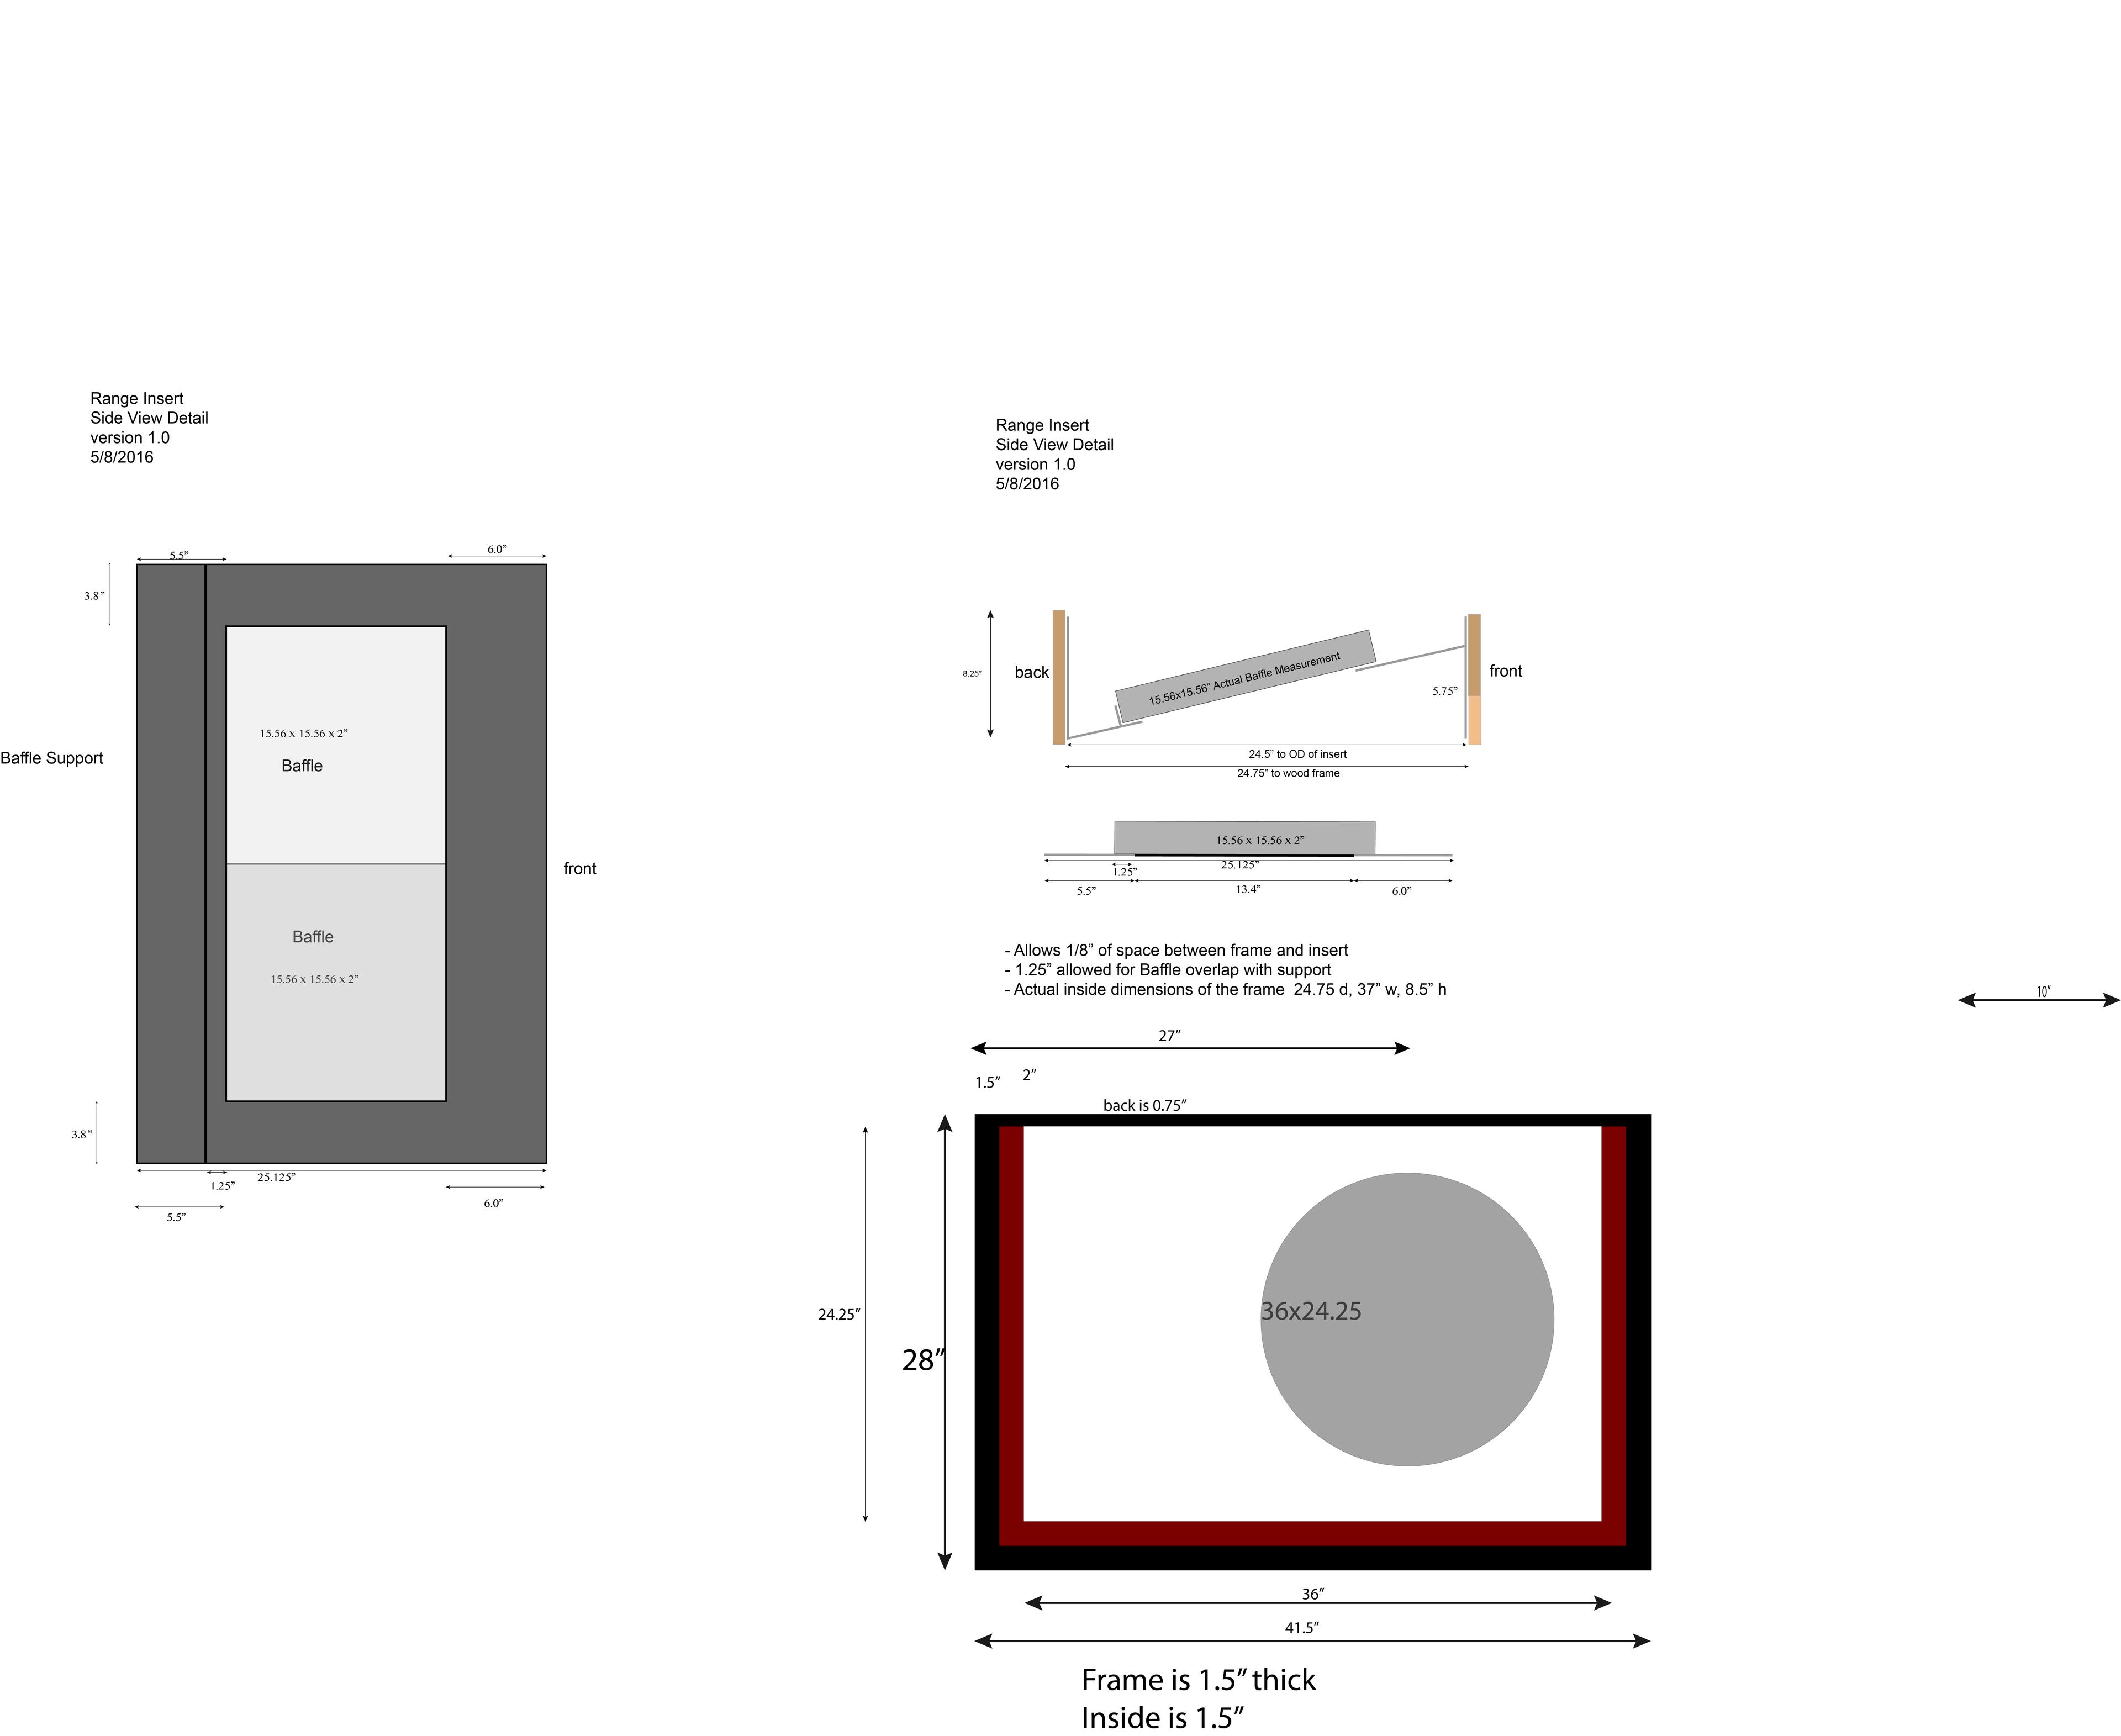
Design The project was designed using Adobe Illustrator. Details such as head clearance, plume management, grease capture, and sound mitigation were meticulously addressed.
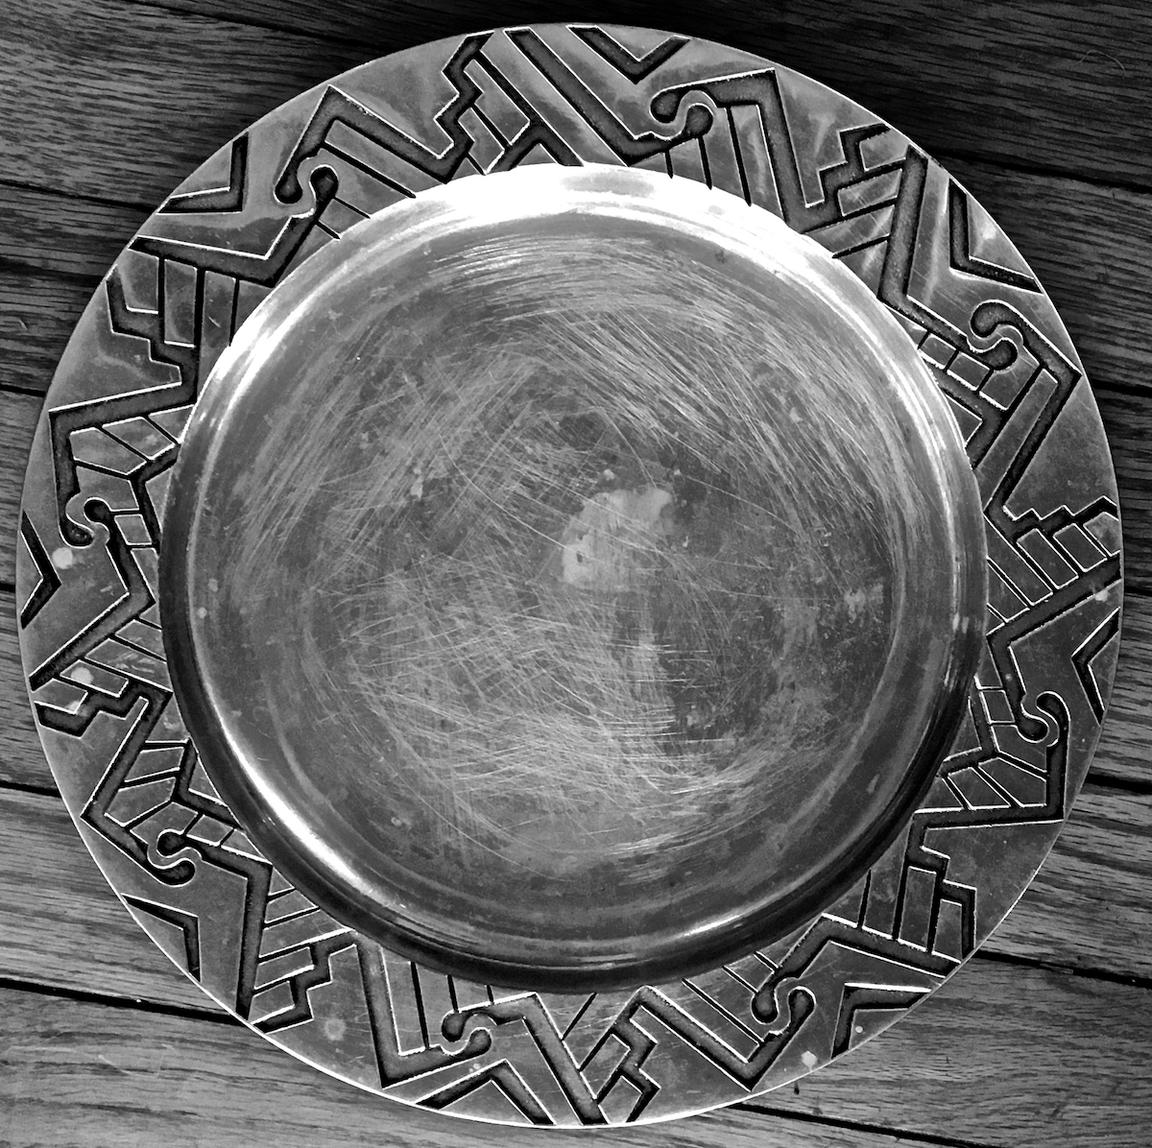
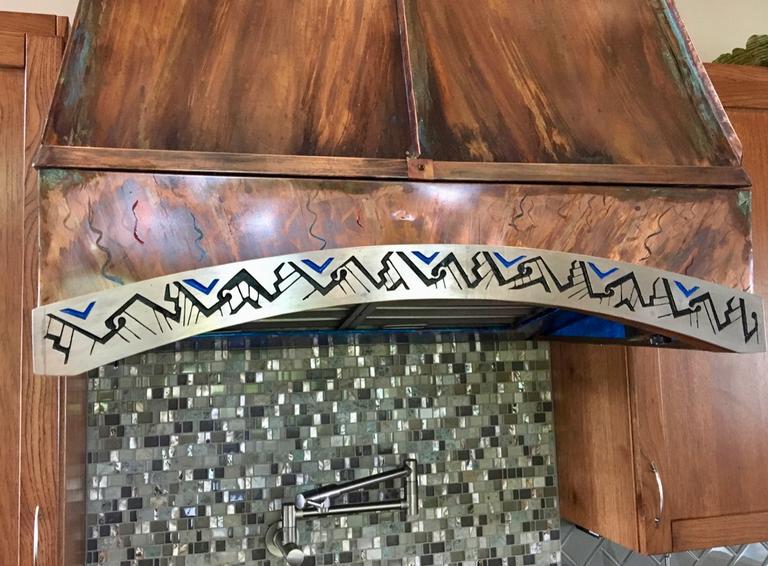
Pewter Arch . The design was inspired by a "pewter"plate that I bought on Ebay. Turns out the plate was made by the Wilton company of Pennsylvania only a few miles from our house. I was actually glad it didn't melt, because I liked the southwest design around the edge.
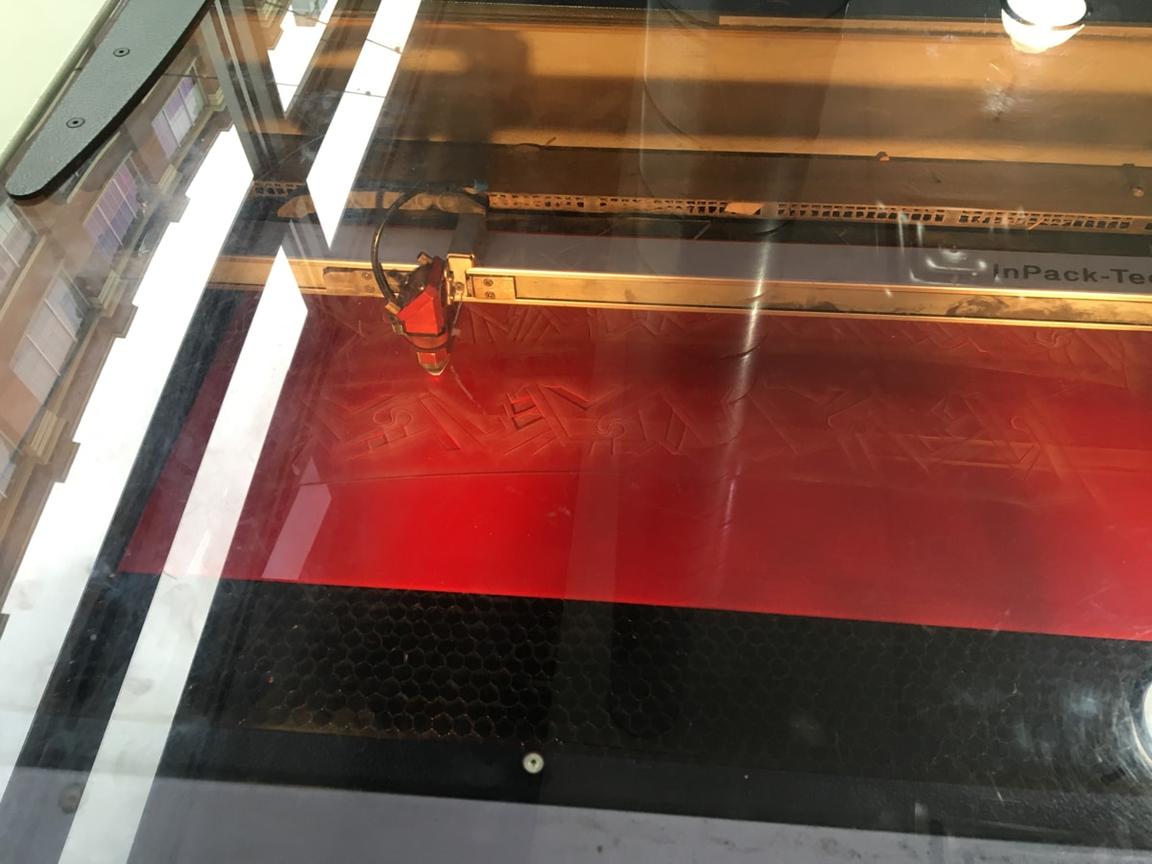
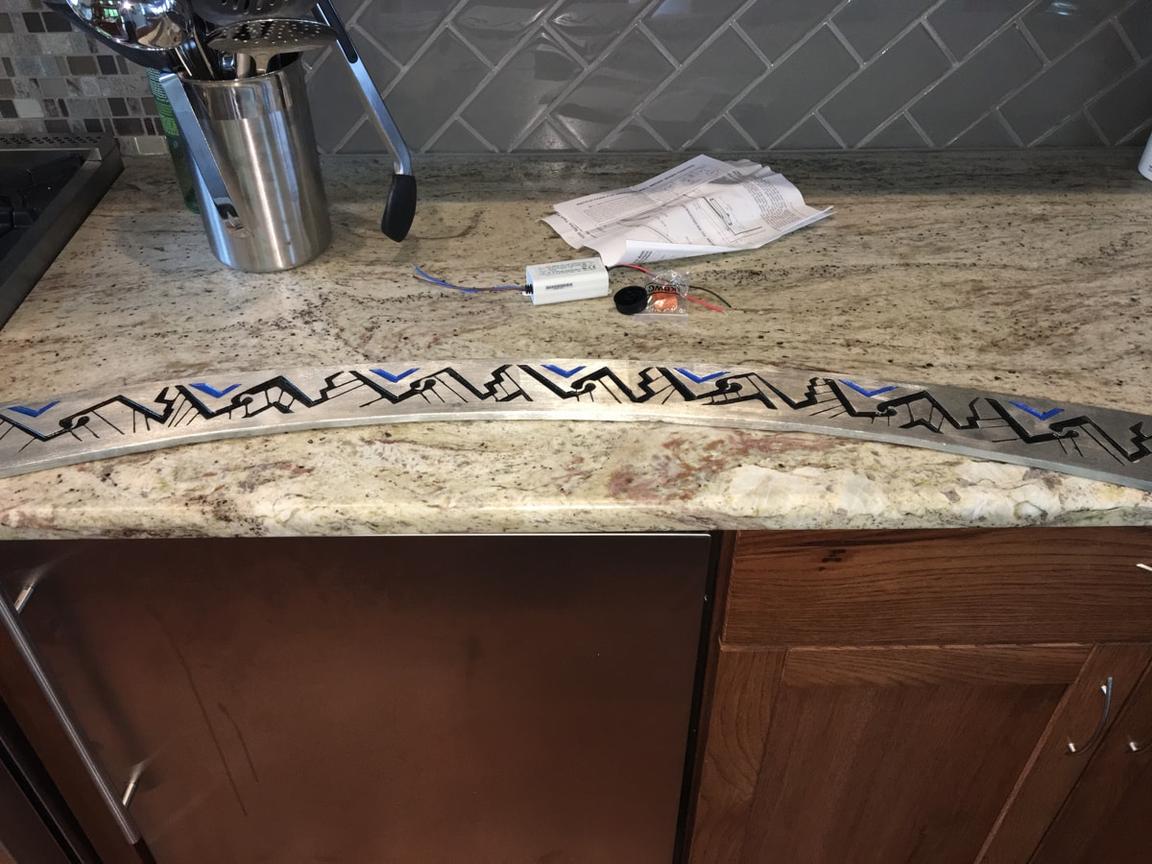
I drew the design in Adobe Illustrator as a vector diagram and expanded it to fit the arch I was planning. Each part was done separately so that it would have the unevenness that is characteristic of a hand carved piece. I then used a computer driven CO2 laser to cut the pattern in plastic. This created the exact piece that iI needed to create in pewter.
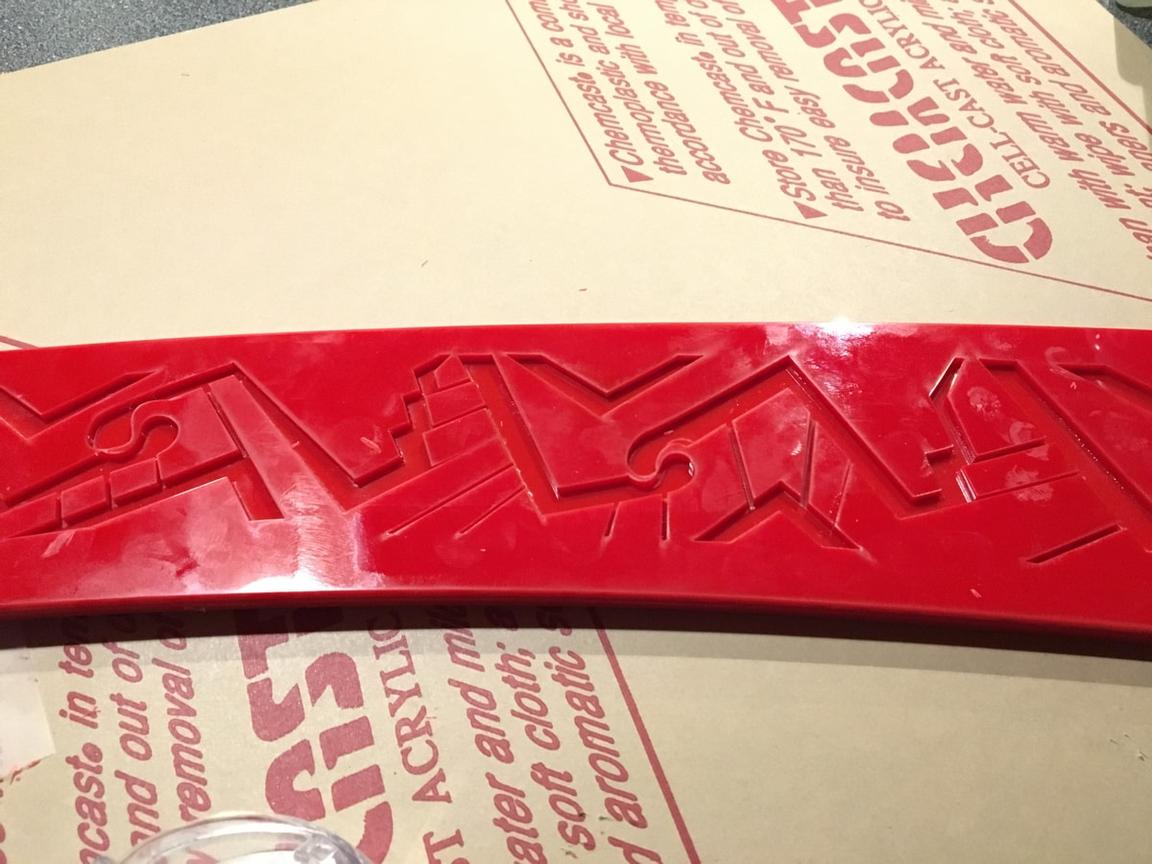
The next step was to create a silicone mold of the plastic piece into which the pewter could be poured.
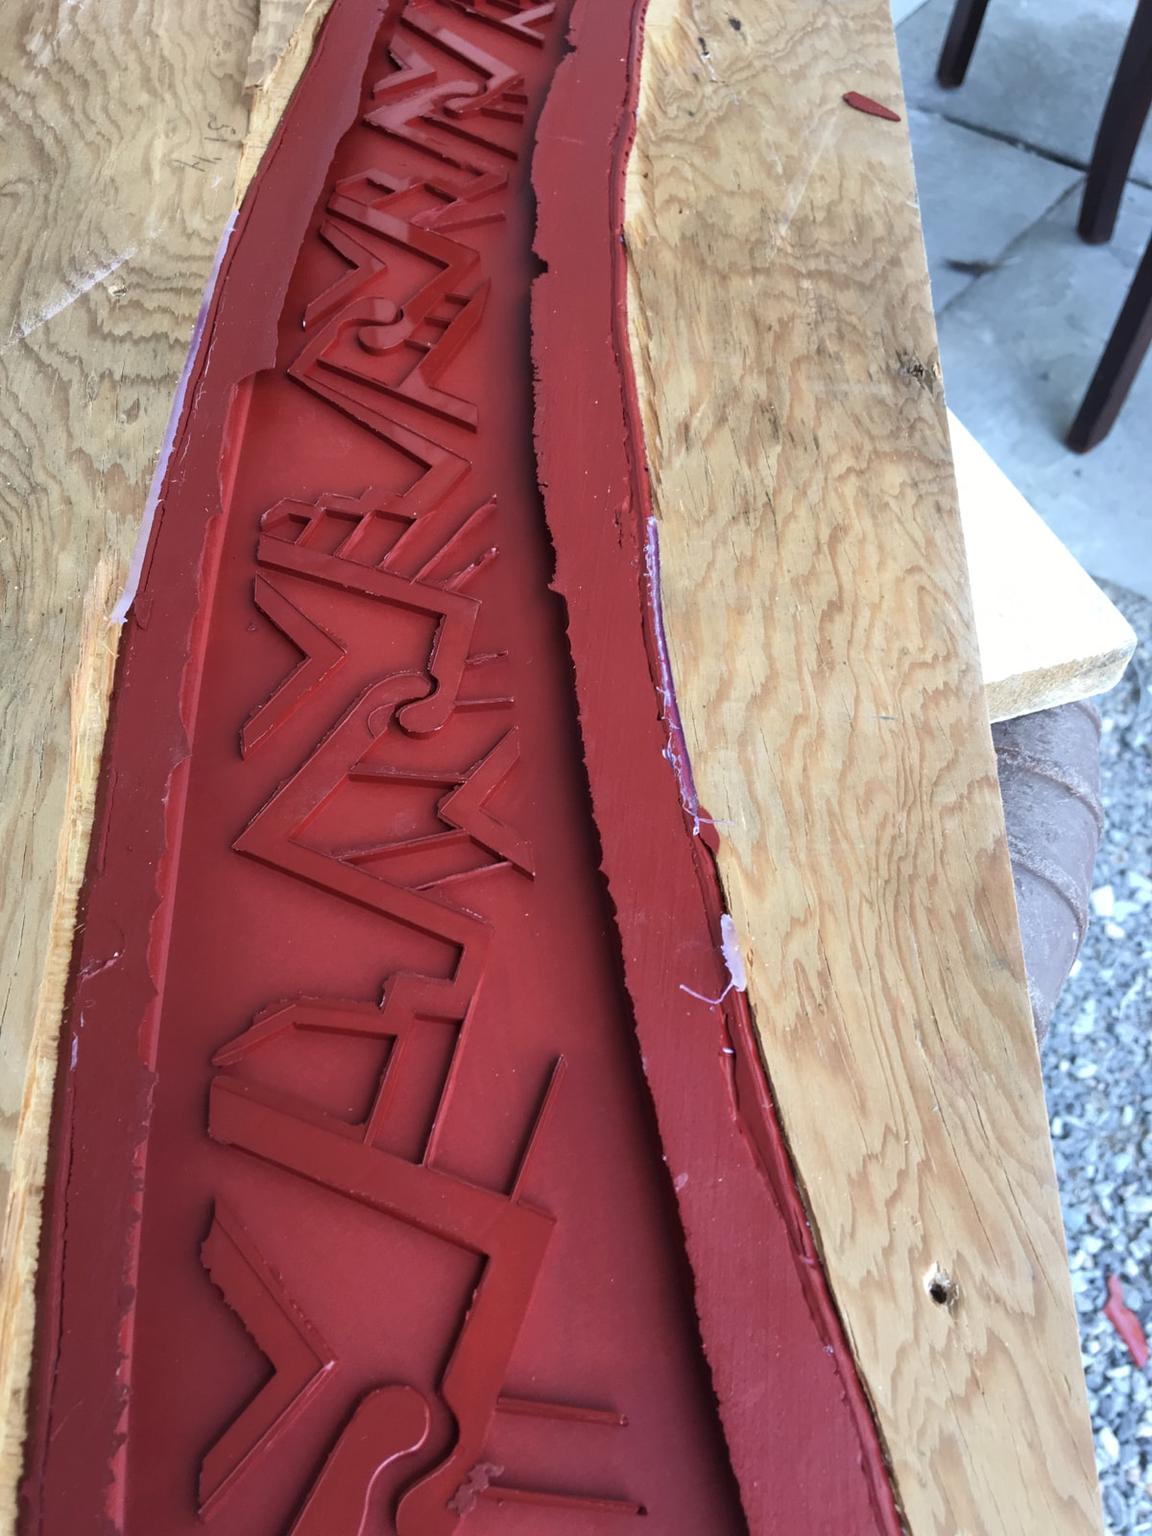
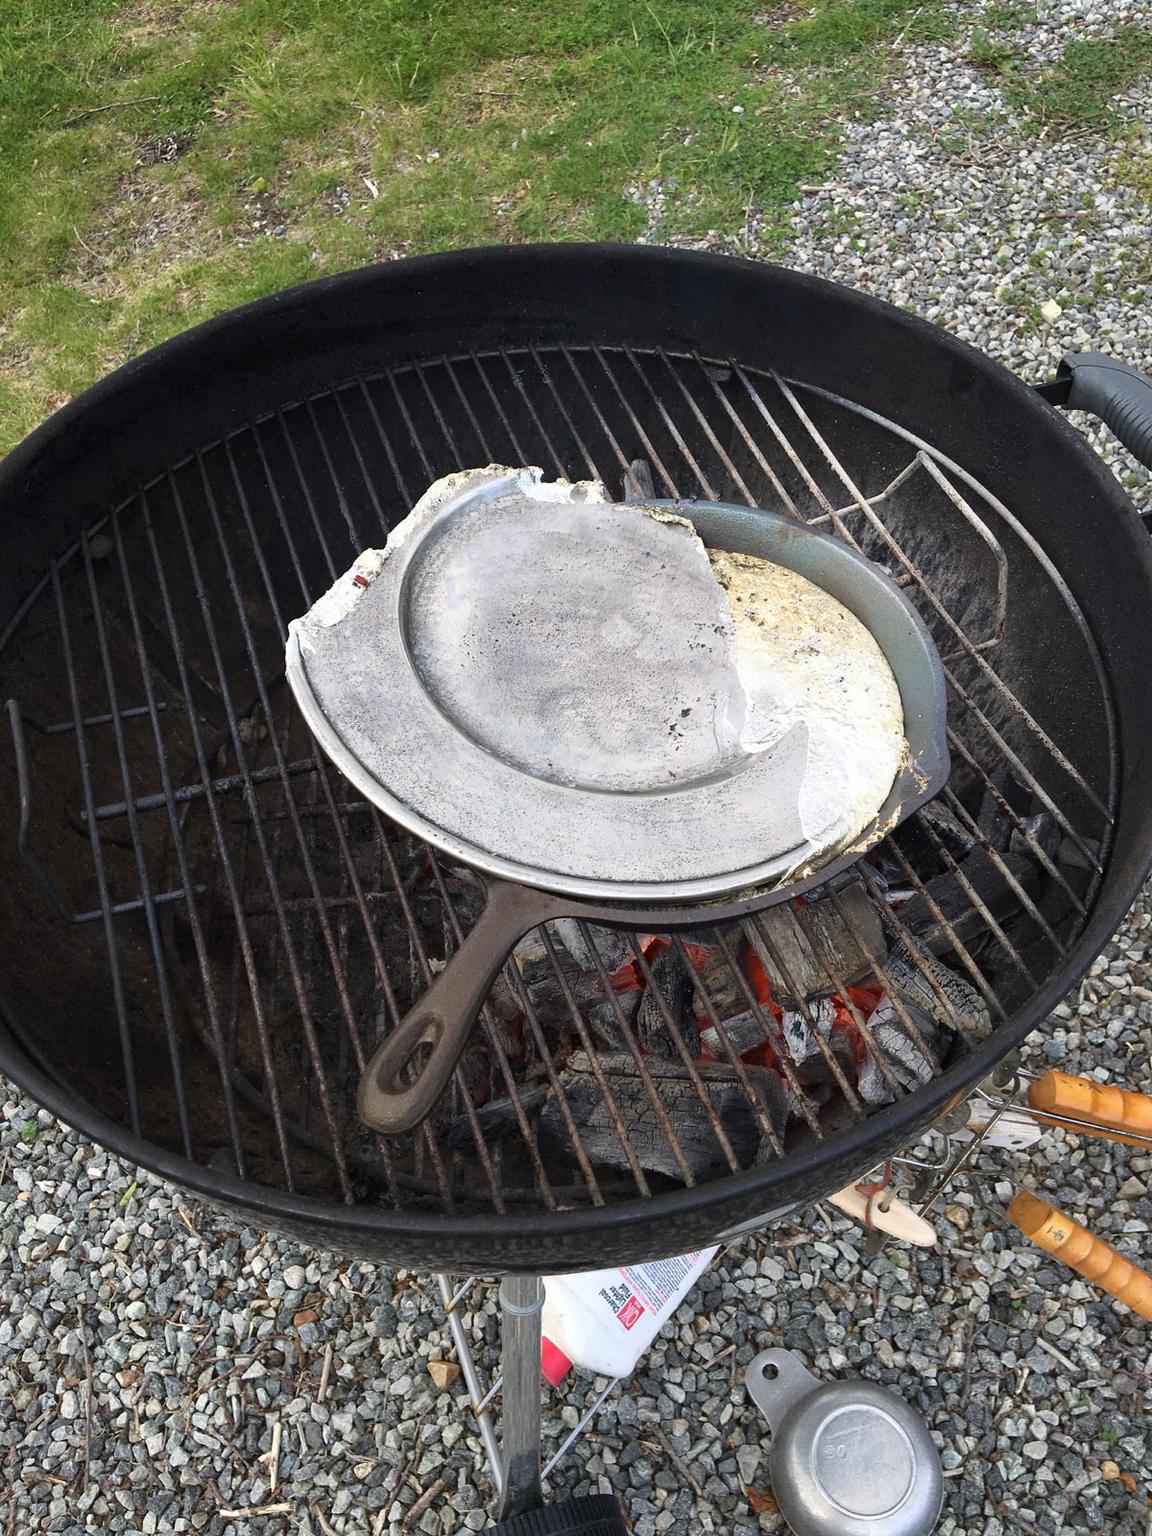
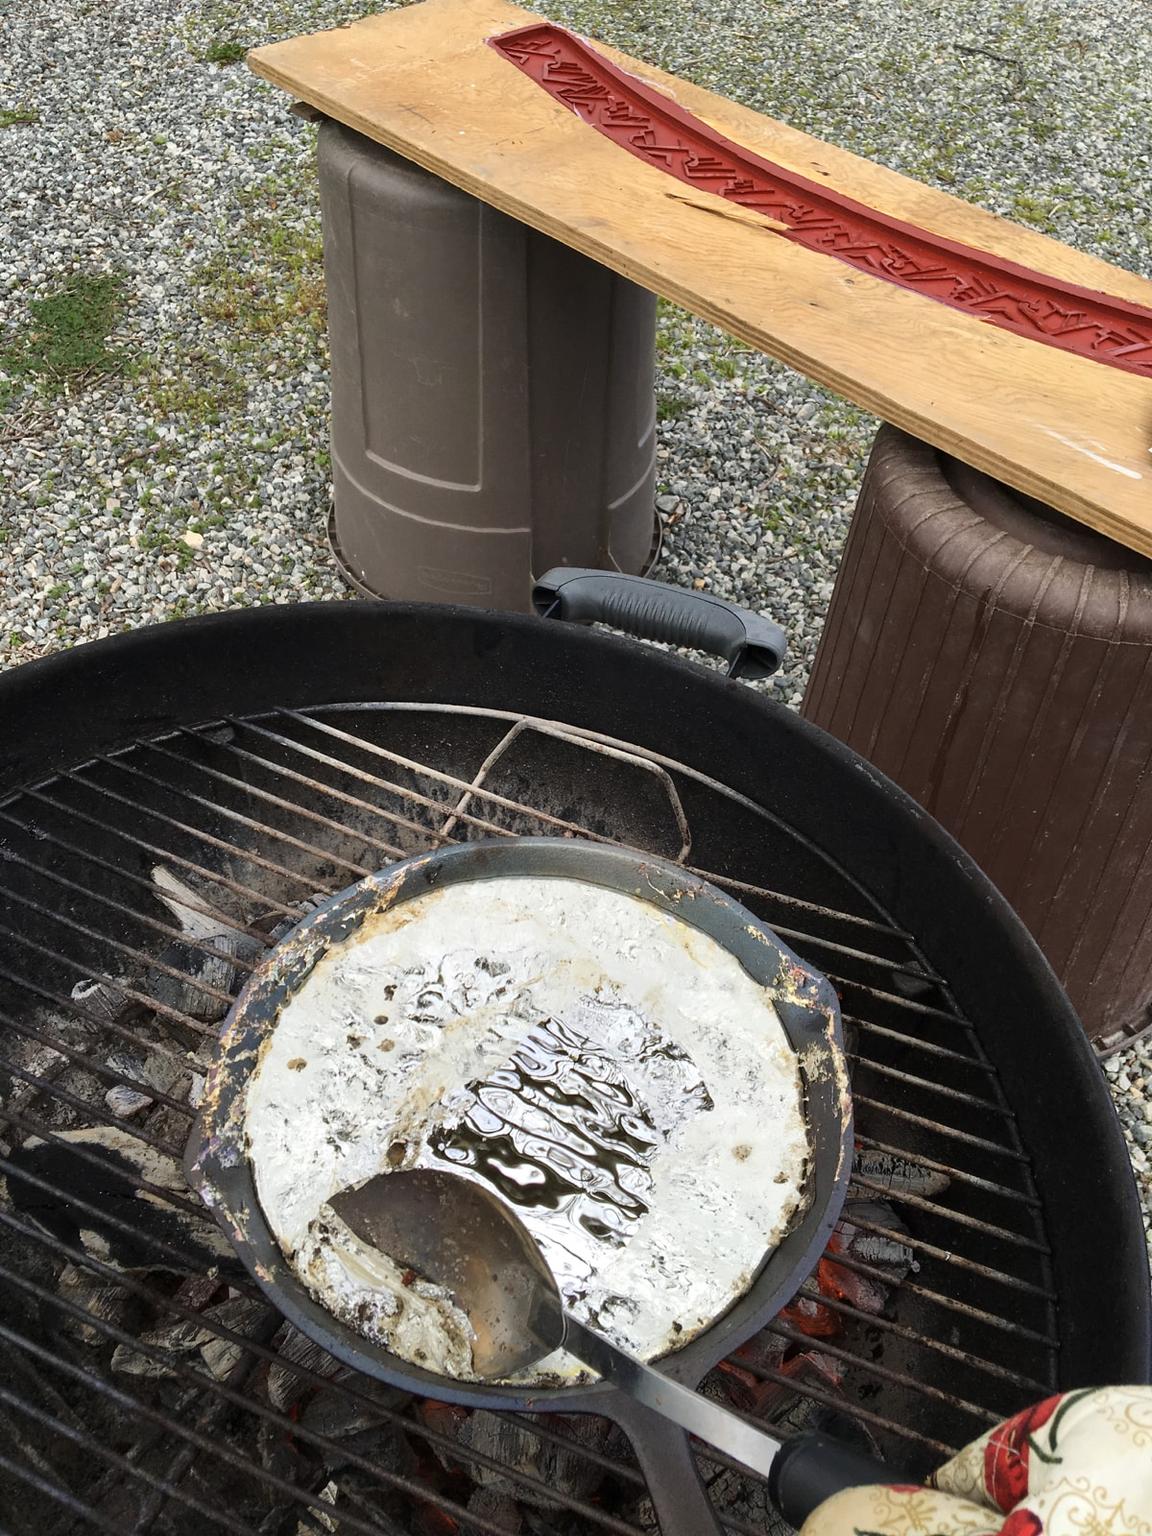
Pouring the Pewter. This turned out to be a little tricky. The pewter was melted from scripts purchased on Ebay. Some of it was from a woman who let her grandchildren play with her pewter set in the back yard. They forgot to bring it in and Grandpa ran over it with a tractor! We know this because after winning the auction I noted the it was being shipped from a nearby address. The woman hand delivered it and was somewhat relieved to know that her pewter set was going to become a southwestern arch. The Pewter melts around 600 degrees and is really heavy. The first pour was not good because of escaping gas in the silicone, so I had to redo it.
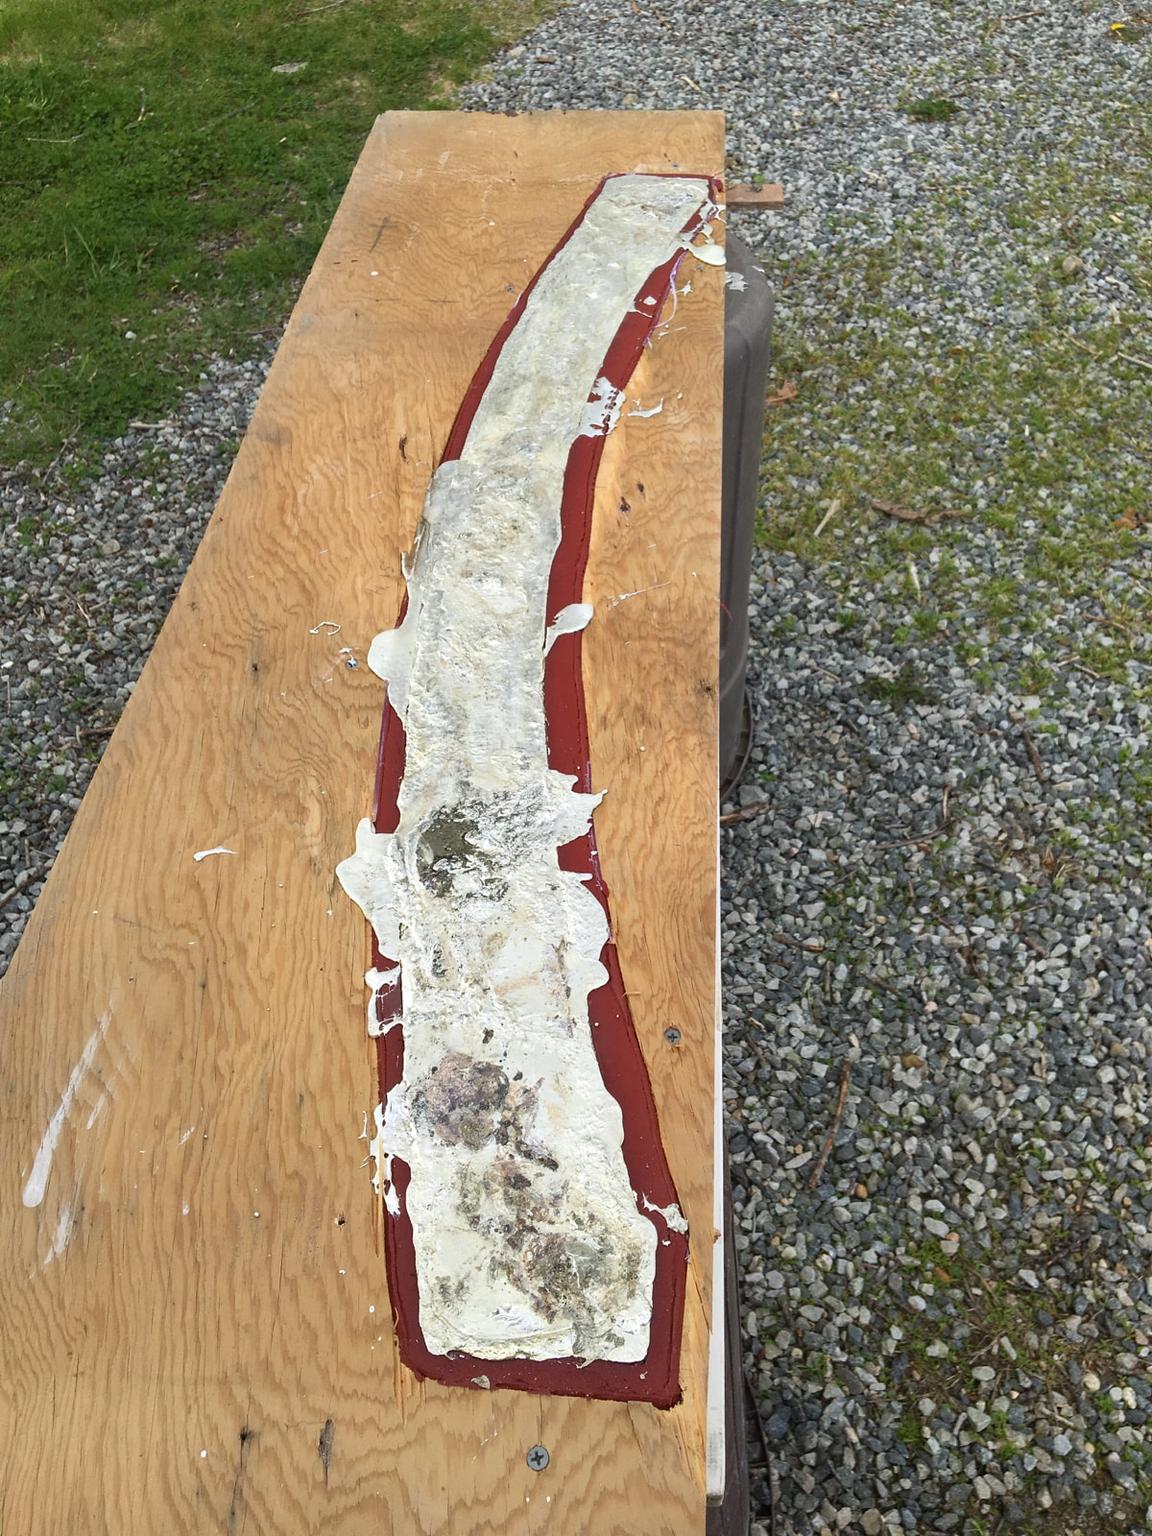
The pewter was popped out of the mold and the face and back ground down with a belt sander. The inside of the design was treated with pigmented epoxy, and the whole thing was treated with clear coat. Note, I had to extend the ends of the arch a little bit, which was really not very easy
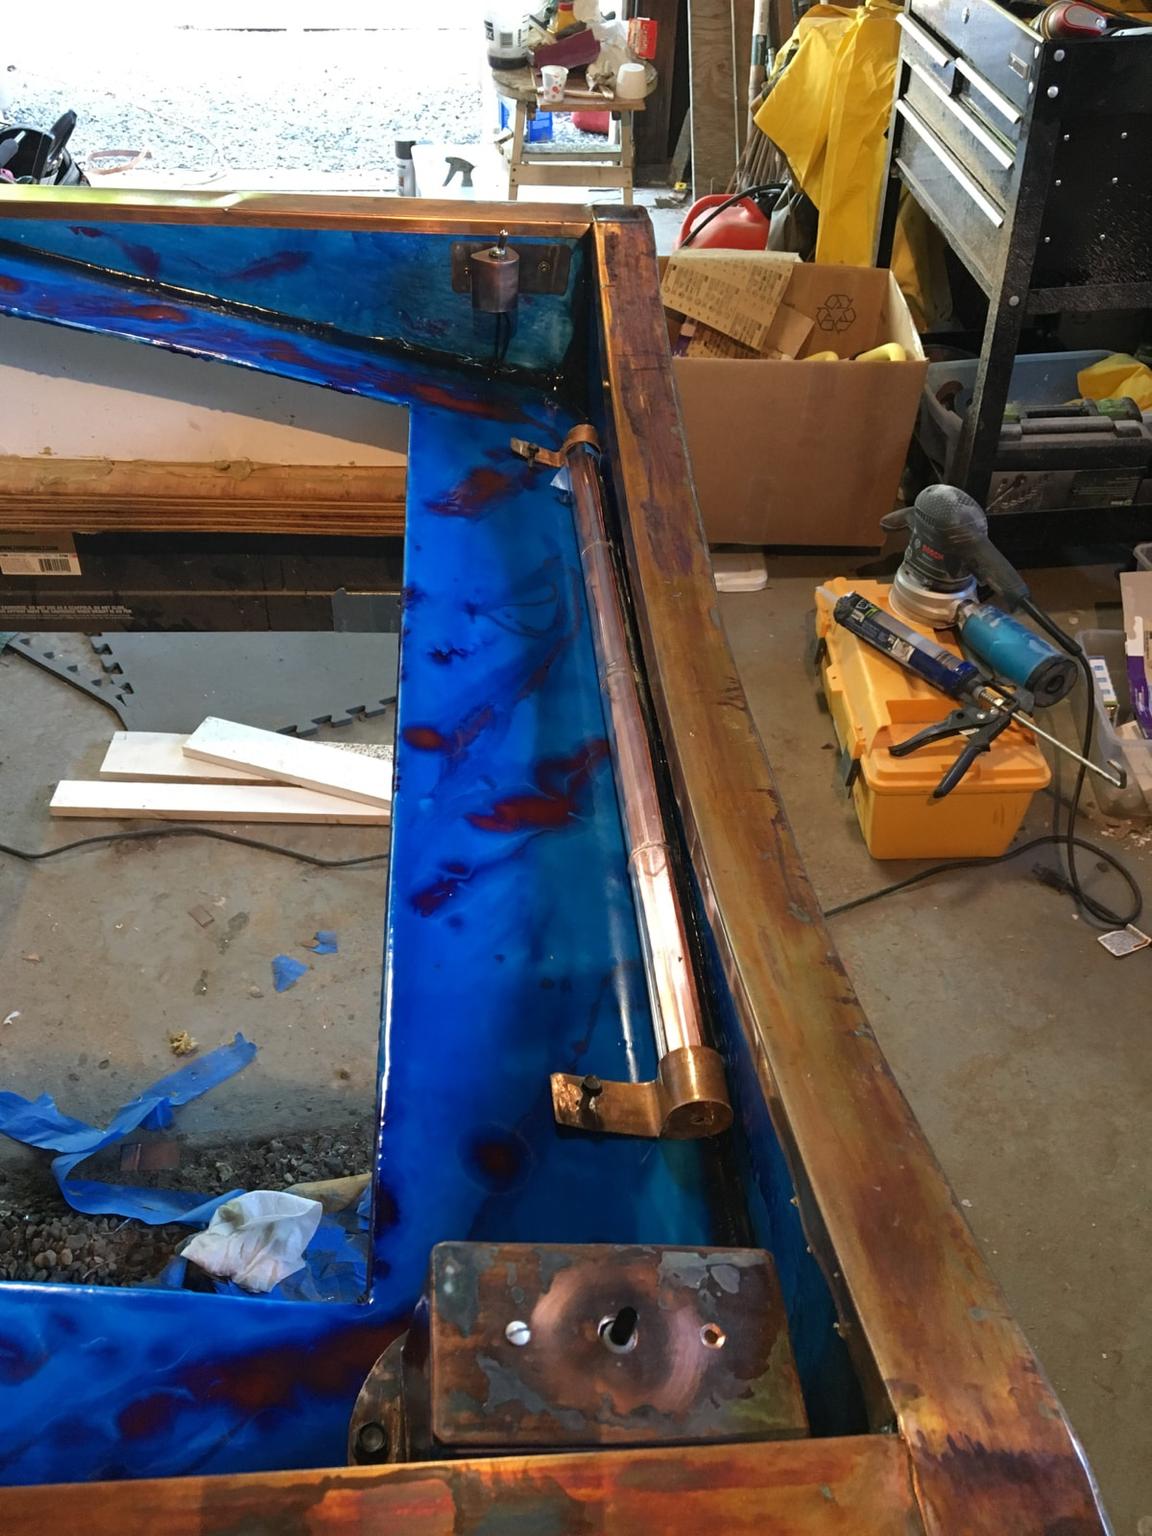
Baffle Box The box that holds the grease baffles, controls and supports the exhaust column is aluminum plate that I cut on a commercial waterjet and TIG welded. The Waterjet is a large platform with computer controlled nozzle that cuts with a slurry of water and garnet dust under incredibly high pressure.
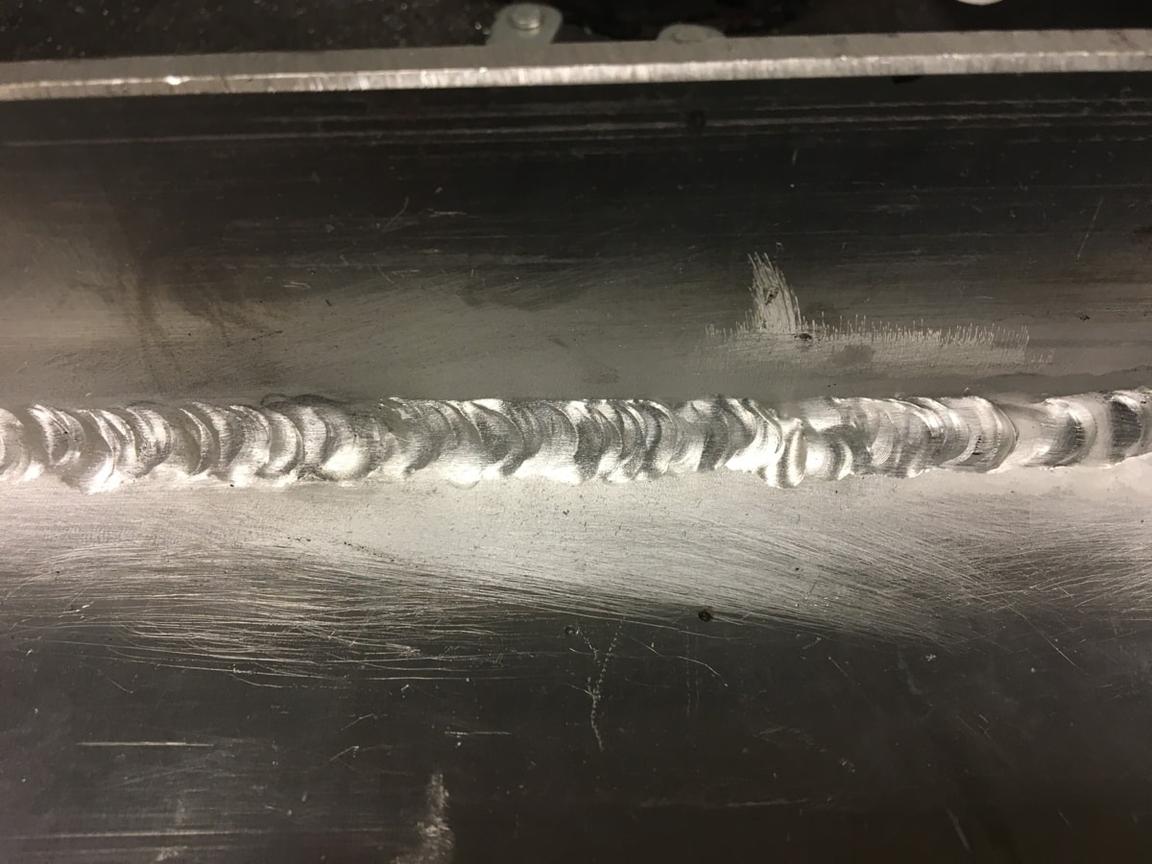
The aluminum was treated with a commercial aircraft anti-corrosion product and then I sprayed it with automotive epoxy primer. The outside was wrapped in copper and the inside was painted with epoxy that was treated with blue and red tinted epoxy to create Deep Space with Cooked Lobster Nebula. Controls for the fan and lights, as well as the light bar were hand made from copper scrap. The light switch with was made using the same method that is used for setting cabochons. The light is pyrex glass.
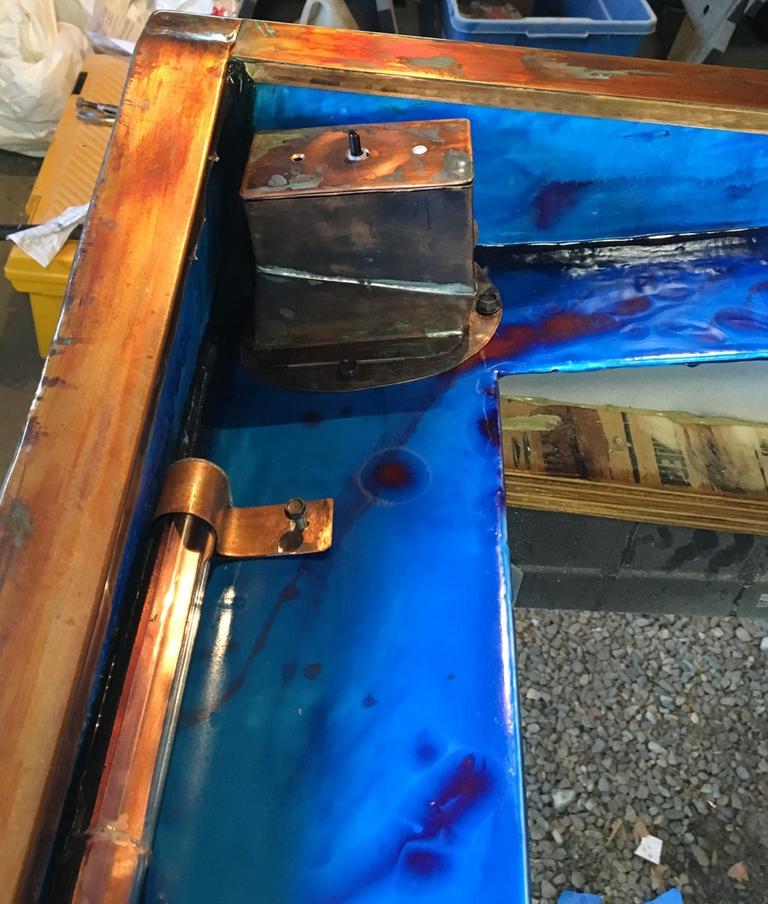
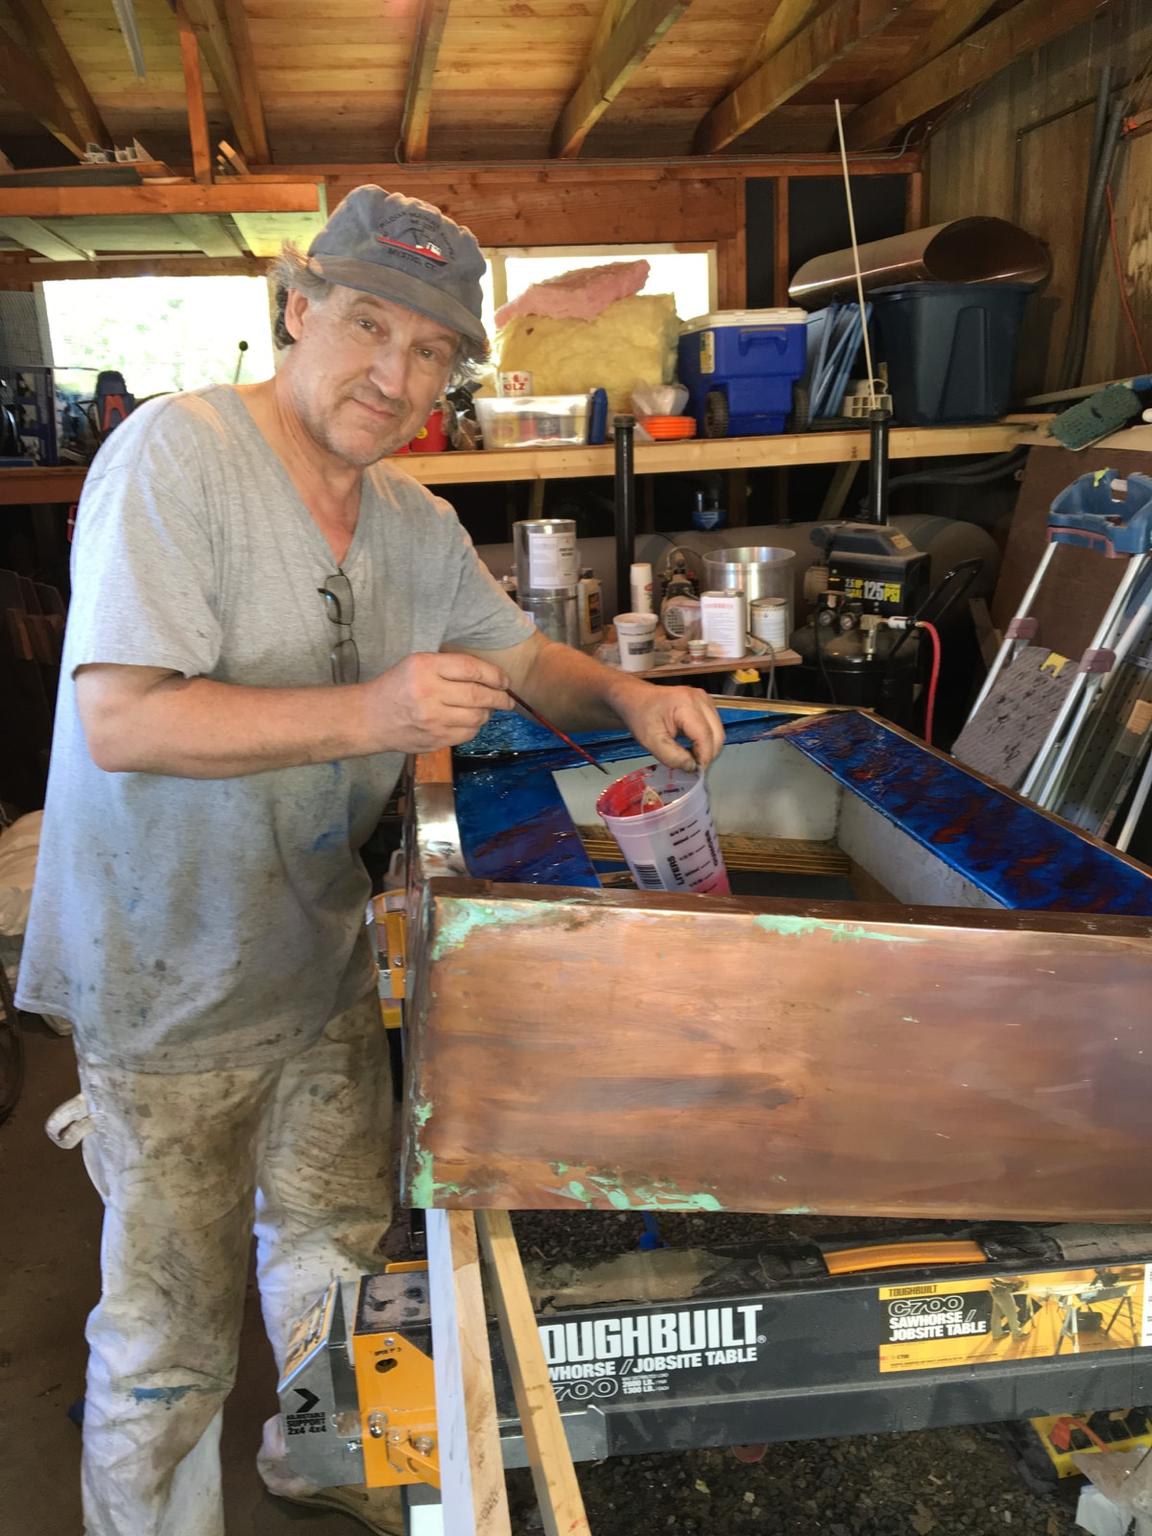
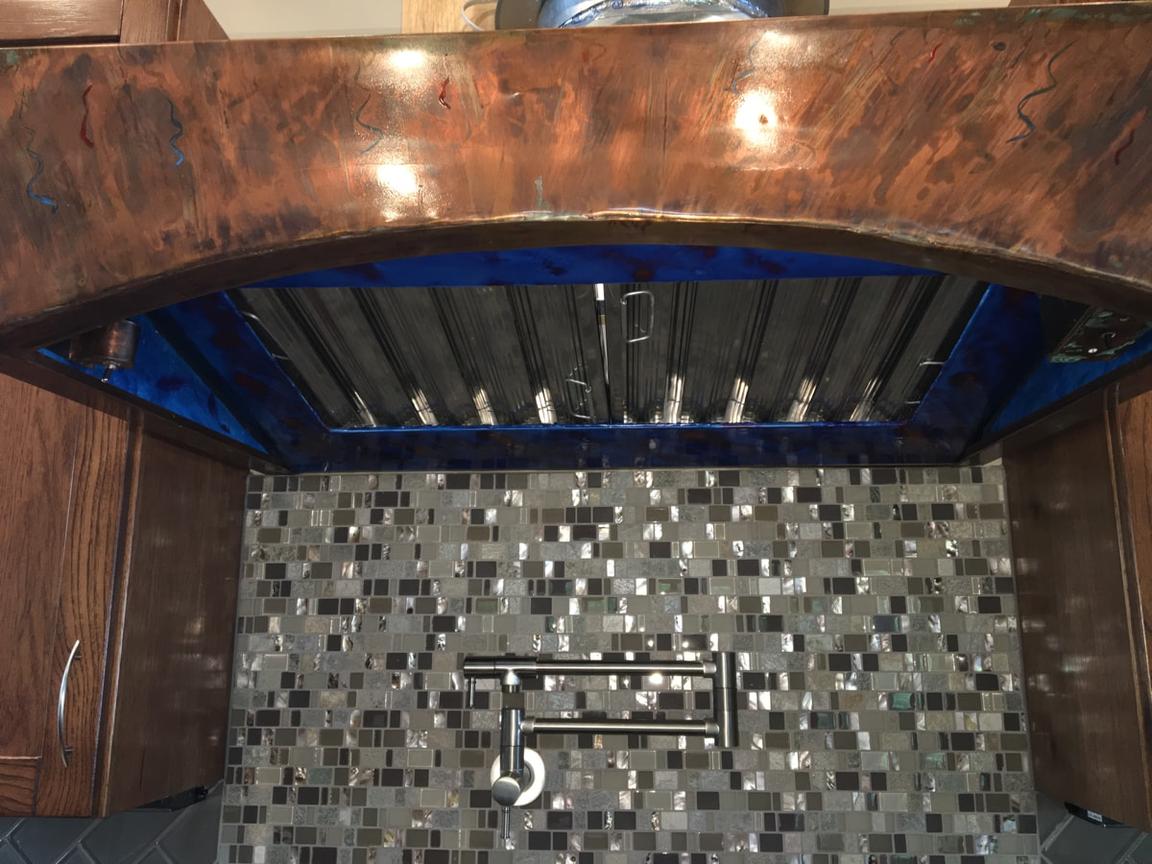
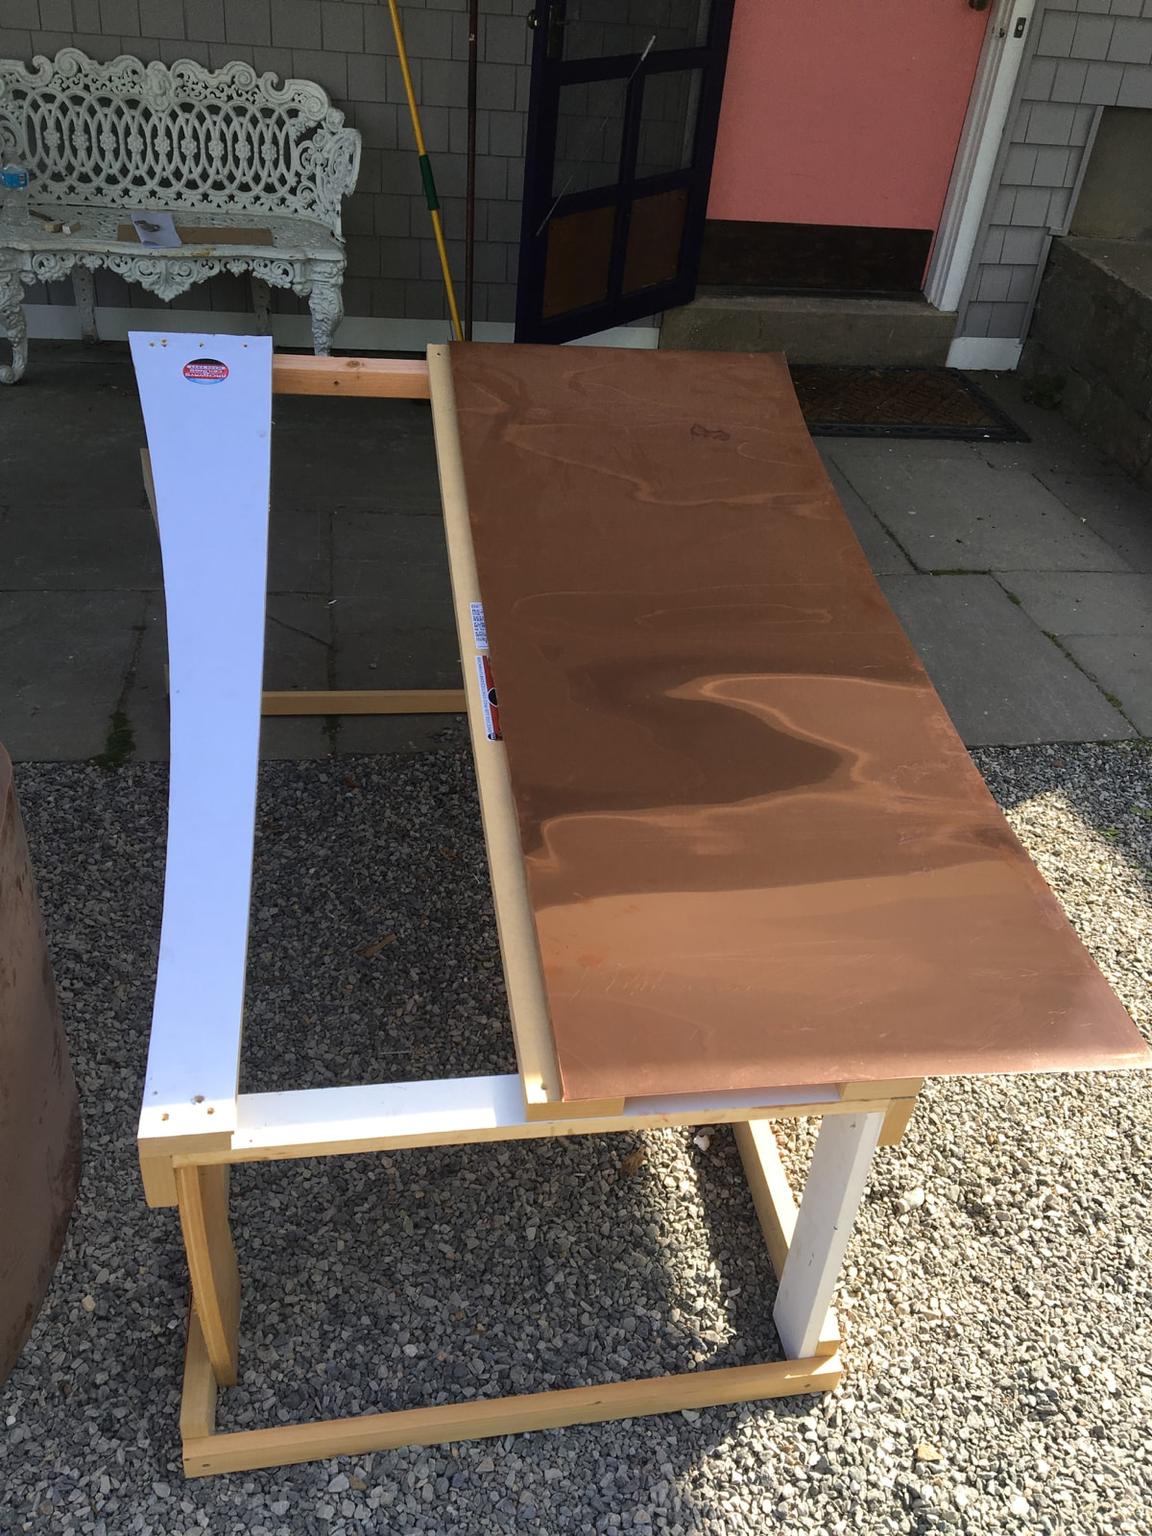
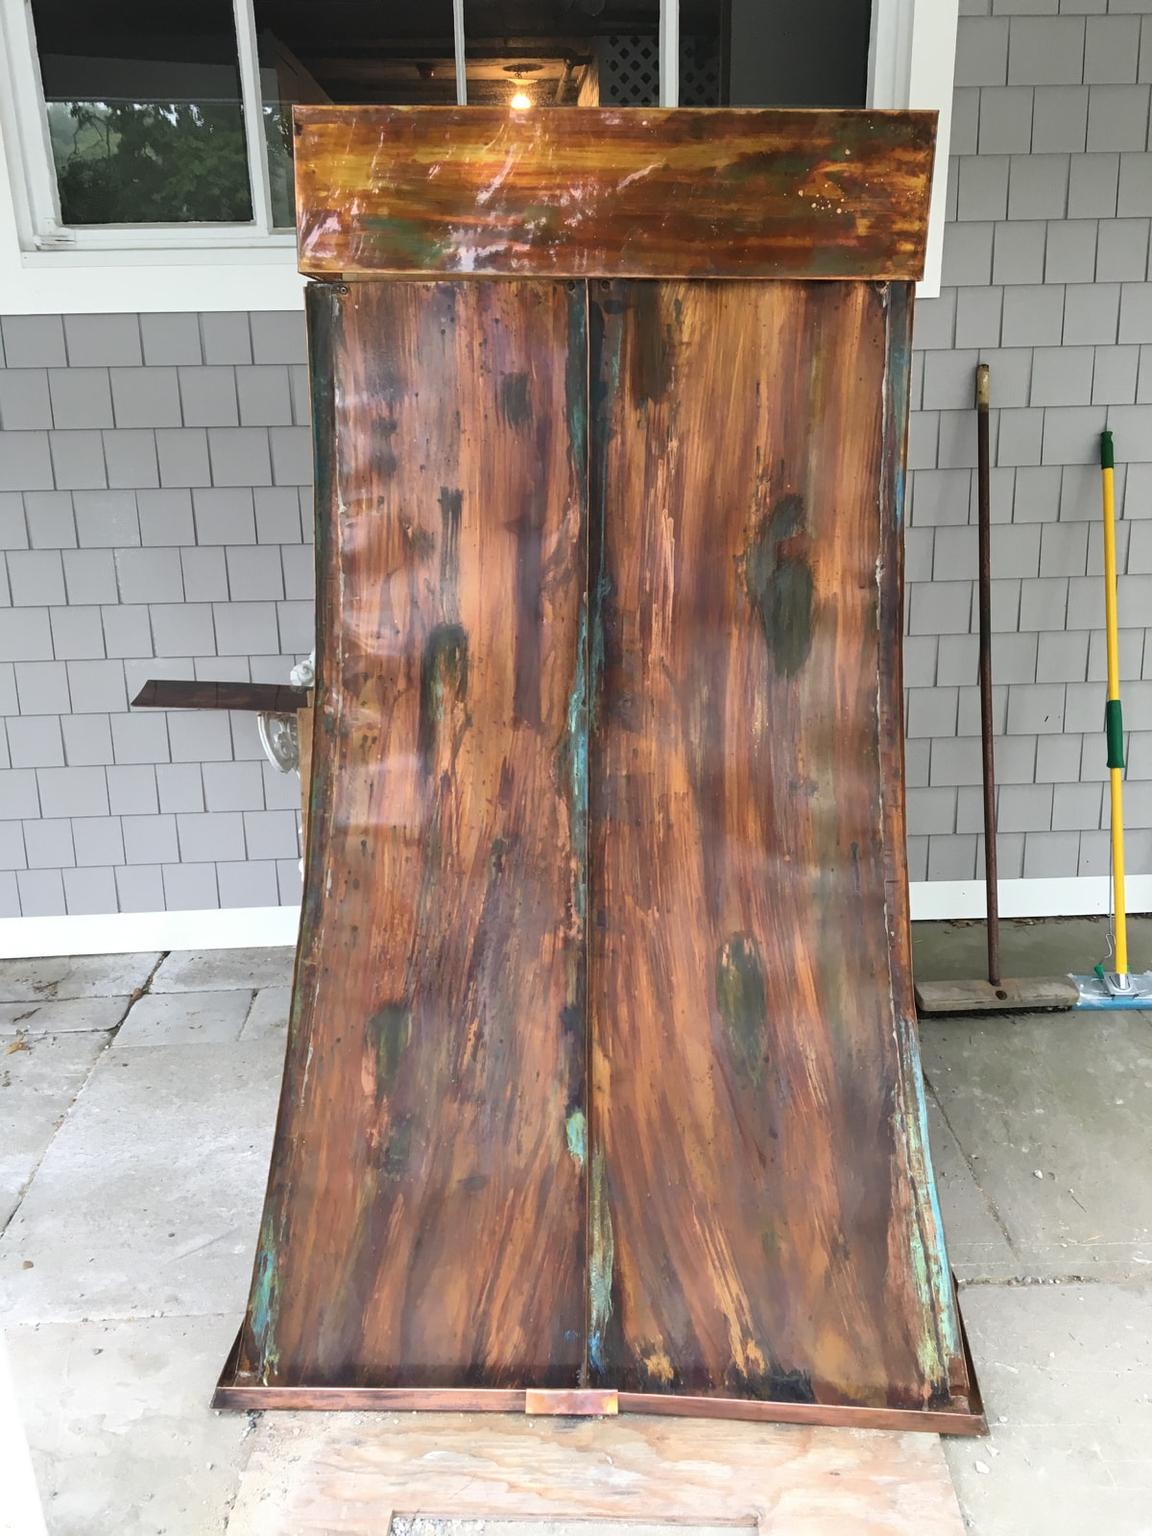
Outer skin was constructed, in the driveway, with copper sheet and treated with oxidizing chemicals to create the striking aged patina appearance. The copper was heat treated, hammered, bent, soldered and brazed with a variety of tools. The vertical edges were a particular challenge because of the compound curves.
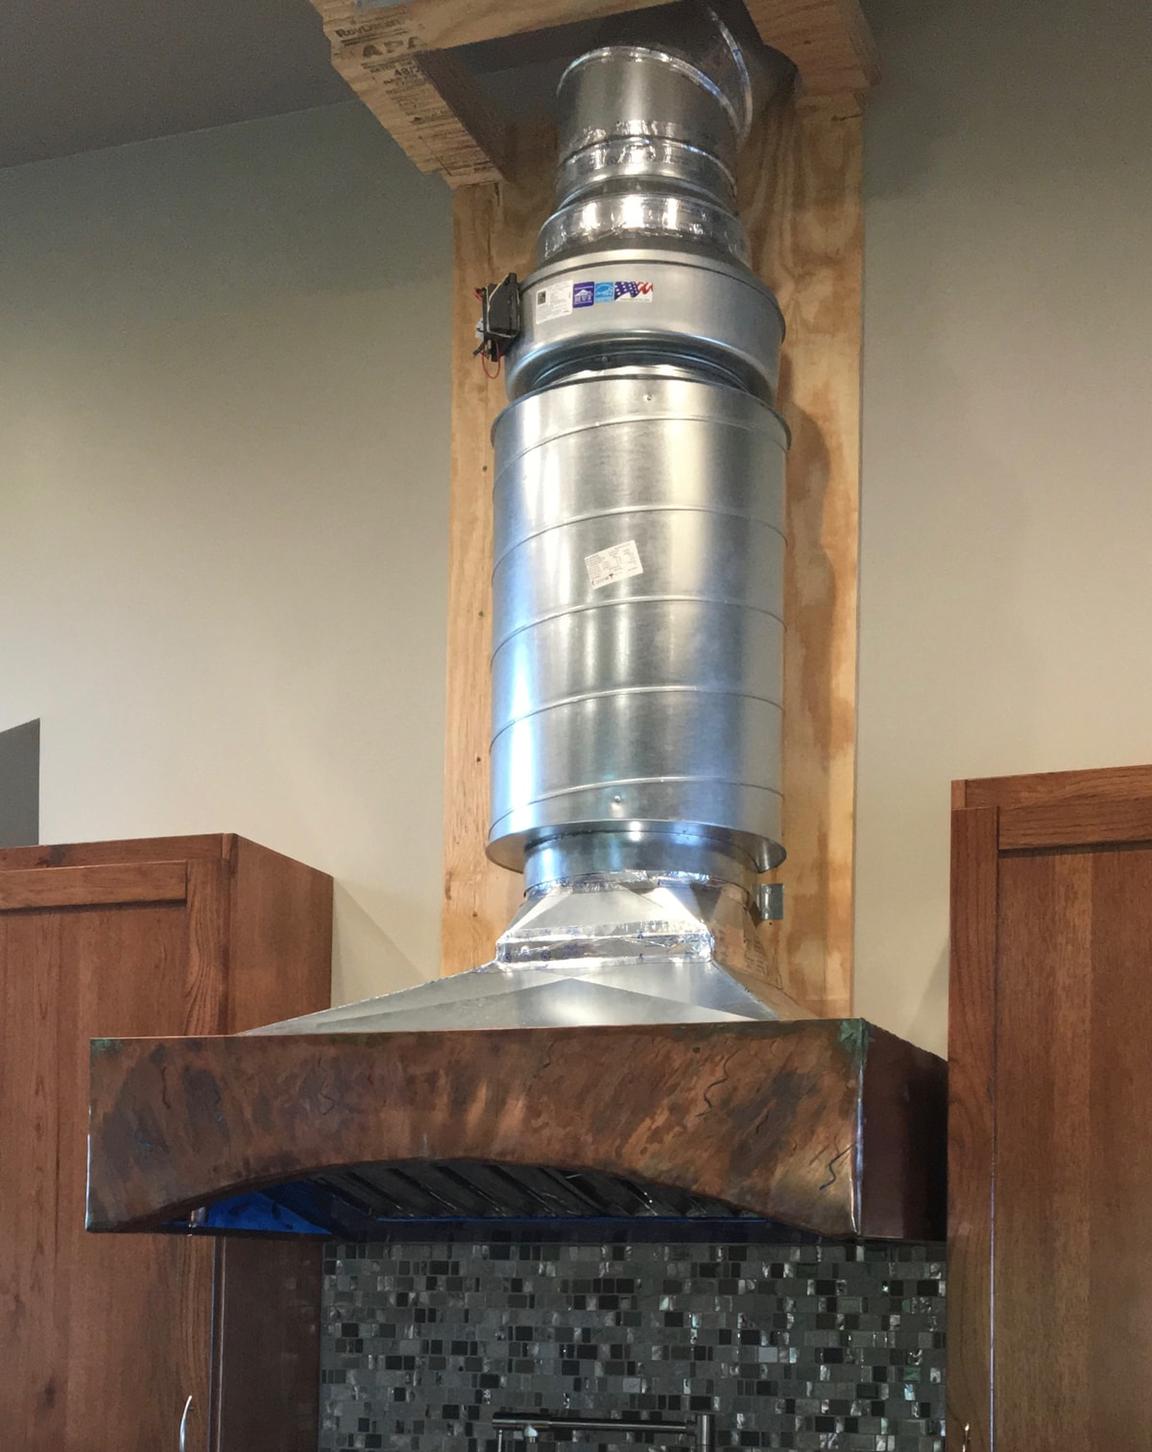
Fan Assembly I had to get help for routing the fan assembly from some very good HVAC guys. The hard part was the adapter that mates the baffle box to the silencer unit. Fortunately it all went together as I had originally planned. The fan is very high quality, and much better than you normally see in this type of unit. It rests on top of of massive silencer that sonically uncouples the fan from the baffle unit
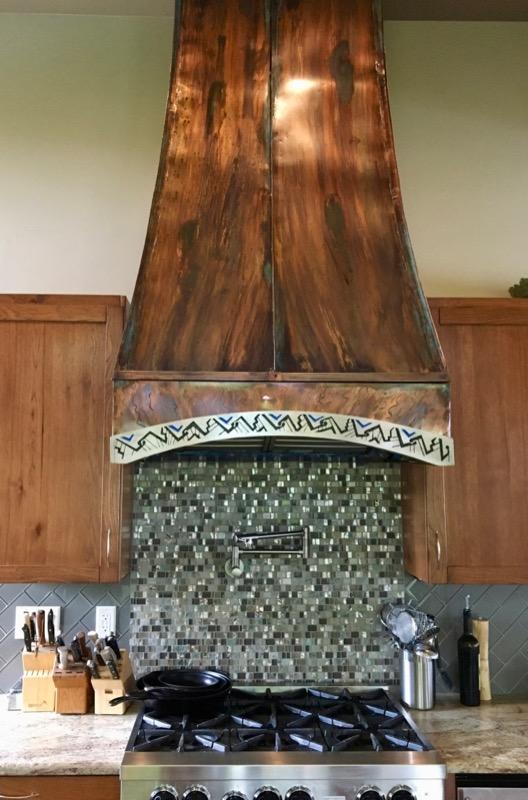
Finished Product
In the end, the project was a success. It took an absurd amount of work to design and build. Every step was a new skill that I had to learn. It creates a really good airflow, but is really quite. My favorite part is the pewter arch.
here is a video showing the hood in action with a searing ribeye steak
Come stay with us
Book direct with the owners: no platform fees, and we answer every inquiry ourselves, usually within a day.